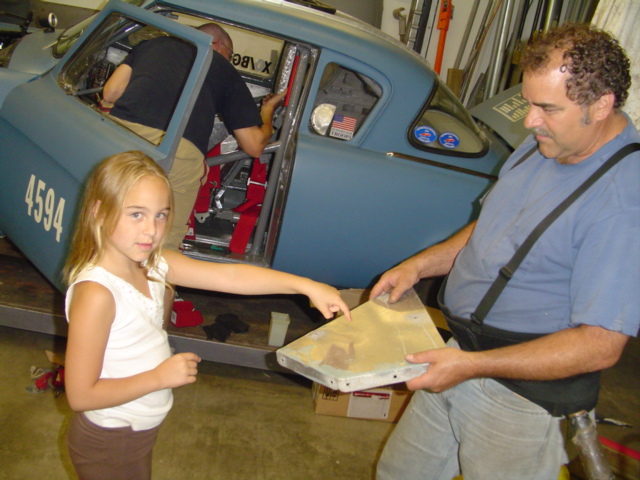
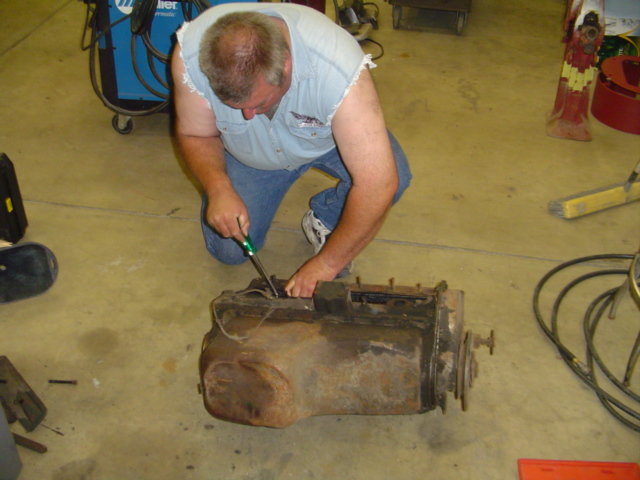
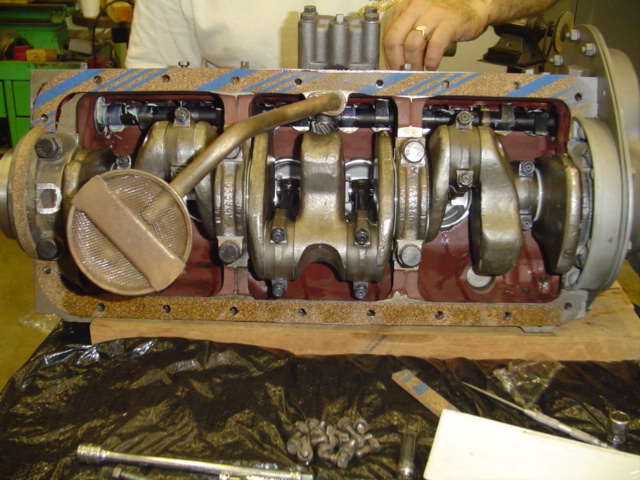
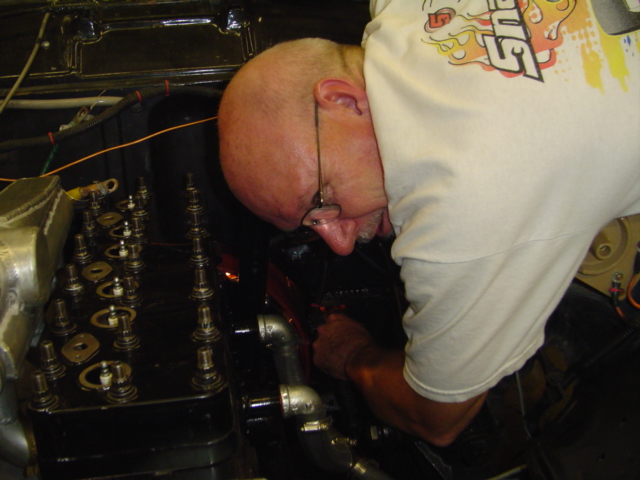
Brutal problems give way to brutal answers as we discover that we must come up with some spare lifters at the last minute. Where the heck do you get a set of Stude 6 lifters in a hurry? You beat them out of a dead motor.
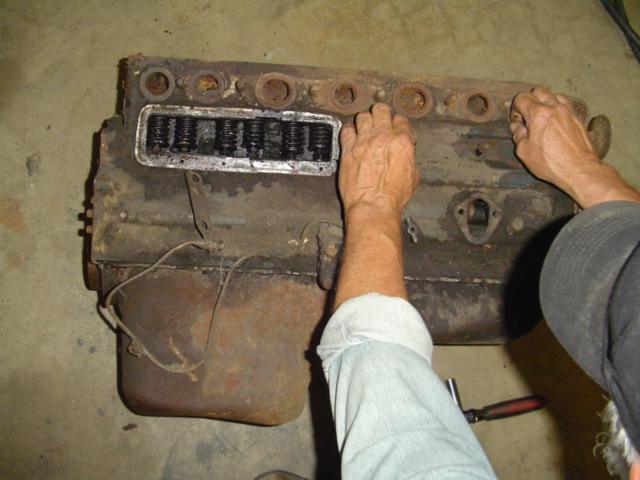
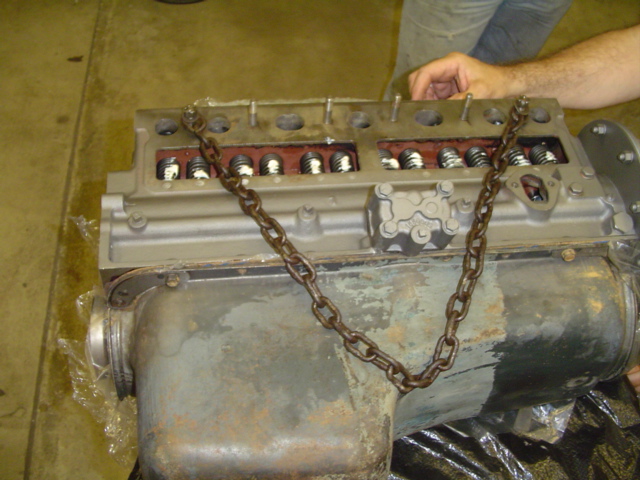
Step 1. Remove the valve covers.
Step 2. Pry the valve springs out with a big screwdriver
Step 2a. Pry harder. And use TWO screwdrivers
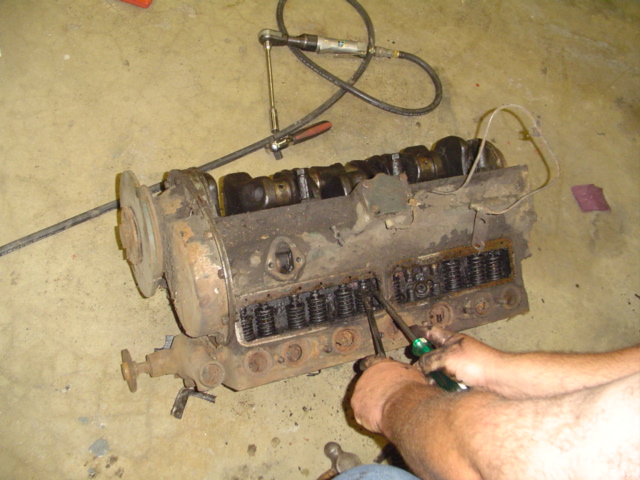
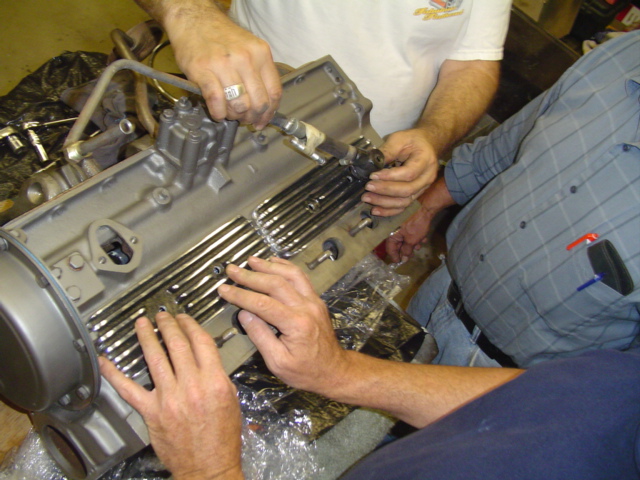
Step 3. Get another guy to figure out how to rotate the cam. Don't forget to hammer the timing gear off.
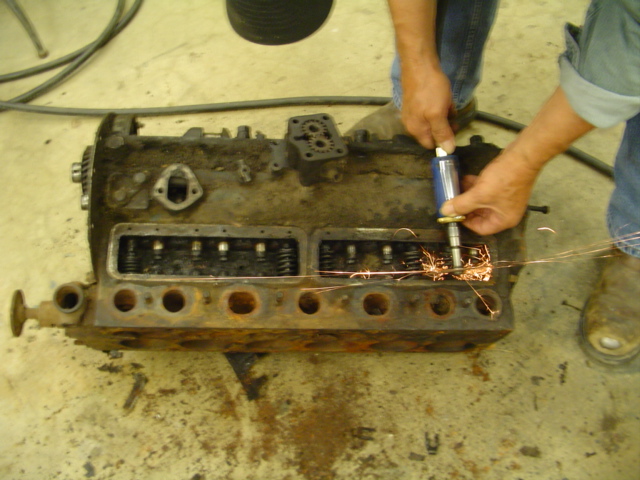
Step 4. Cut the valves out. Good thing they weren't sodium-filled.
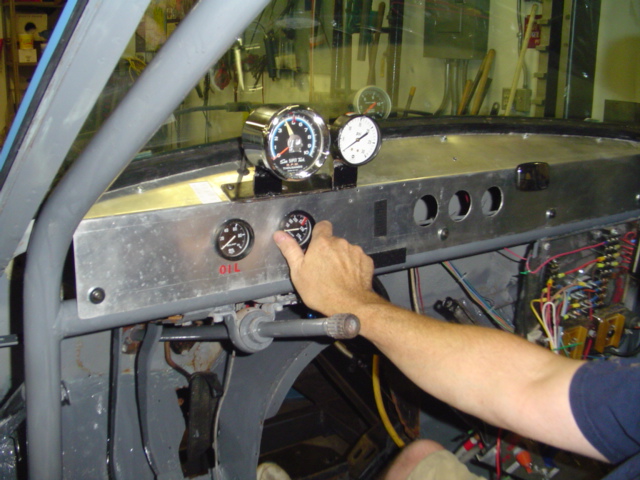
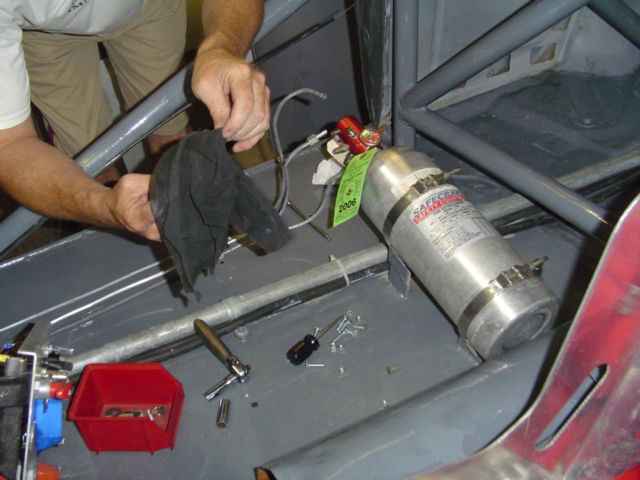
During this fiasco, Joe manages to fit some gauges and install the fire bottle.
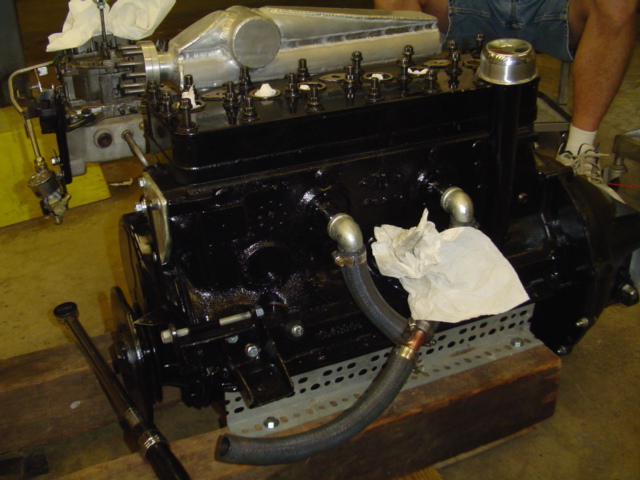
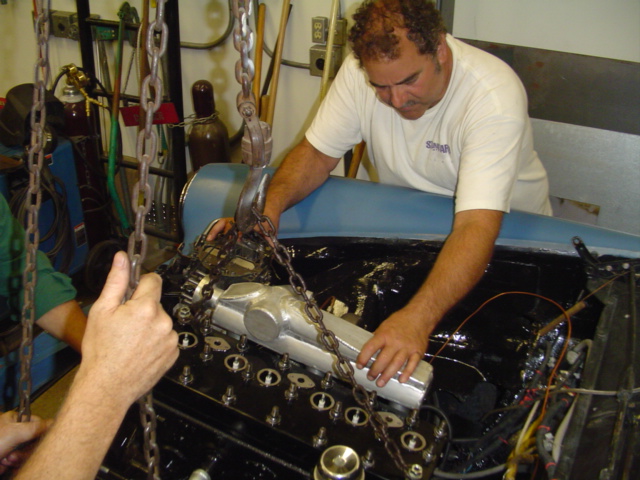
Was it worth it? Yeah, I guess so. The new motor looks pretty good: 1, 2, 3, 4, 5, 6.
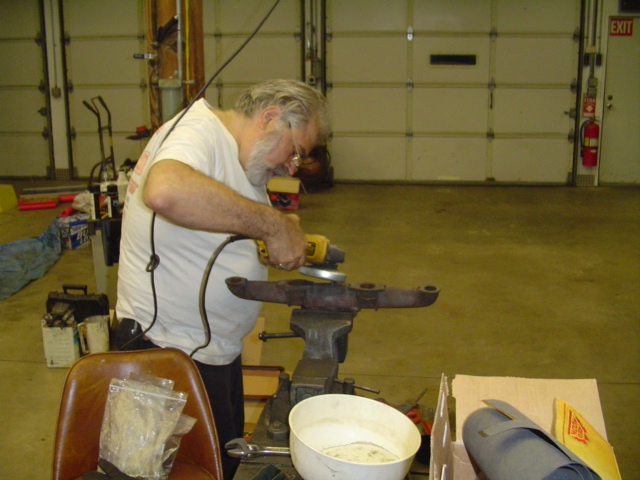
Greg does a little grinding on the exhaust manifold.
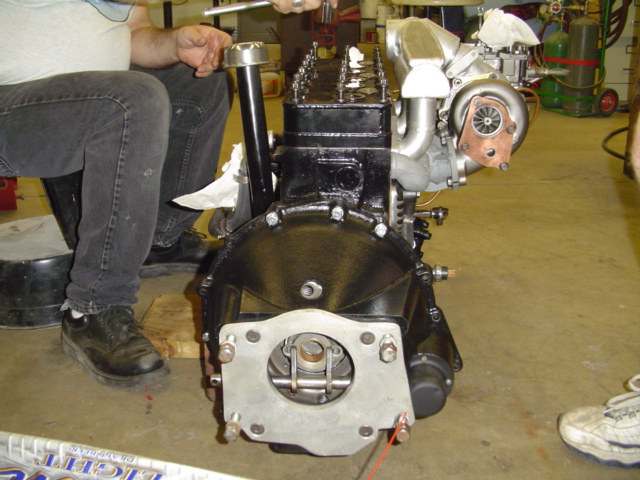
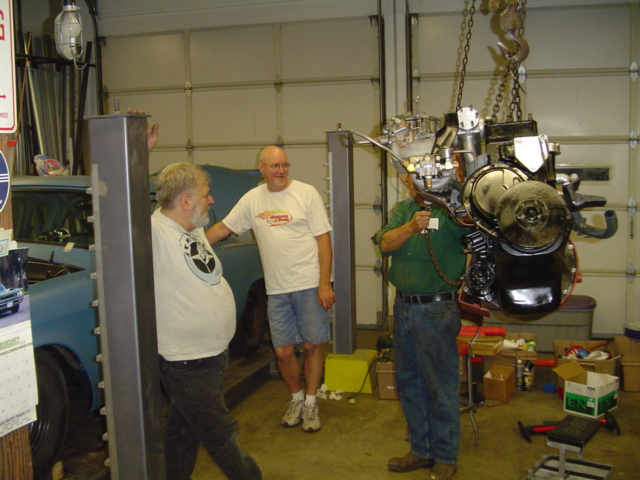
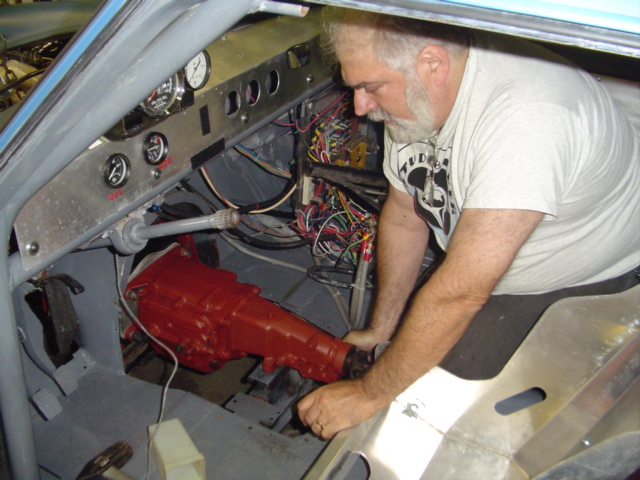
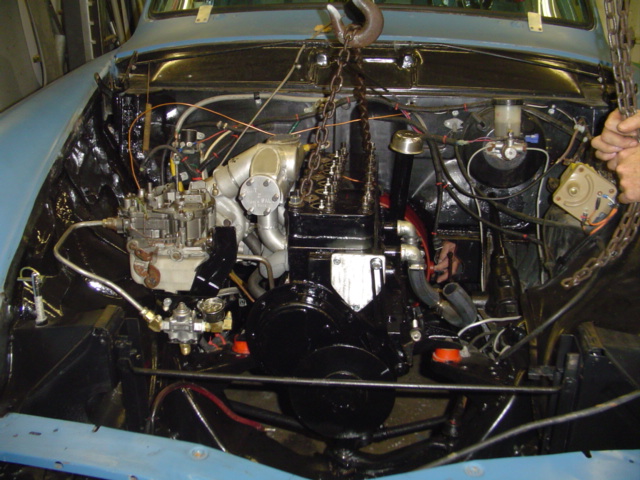
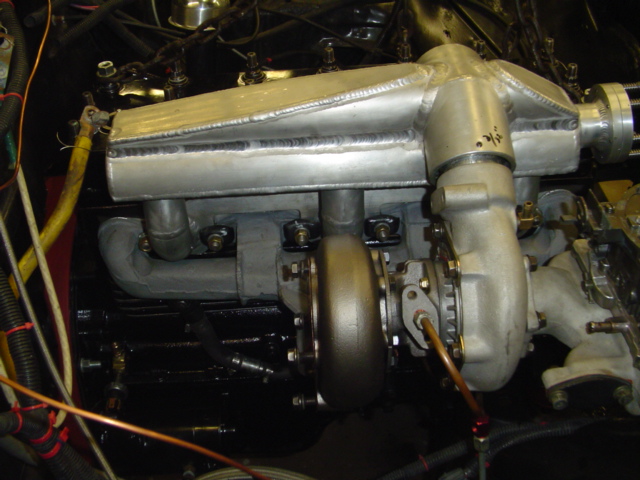
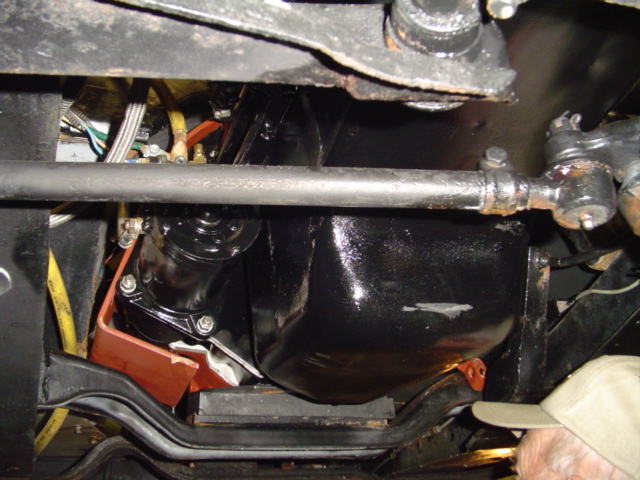
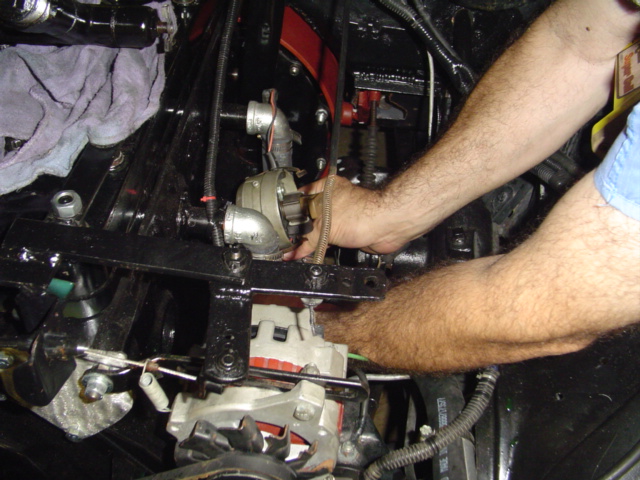
Finally the motor is assembled. The nice thing about using an small 6 is that you have a lot of room under the hood. You can put almost everything on while it's outside of the engine. Here are some shots of the engine just before we install the transmission: Upper Right, Lower Right, Left, Front, Top, Back. There are some nice shots of Digger Dave's changes to the manifold here. Note the increased plenum volume and the pop-off valve. Also of interest is the water-pump block off plate. In the past we modified an old pump and used its body to route the fluids. Now we pump water directly into the frost plugs on the left side of the engine and take the hot water out of the head. It took one or two tries to get the transmission to bolt up but soon enough it was ready to put in the car.
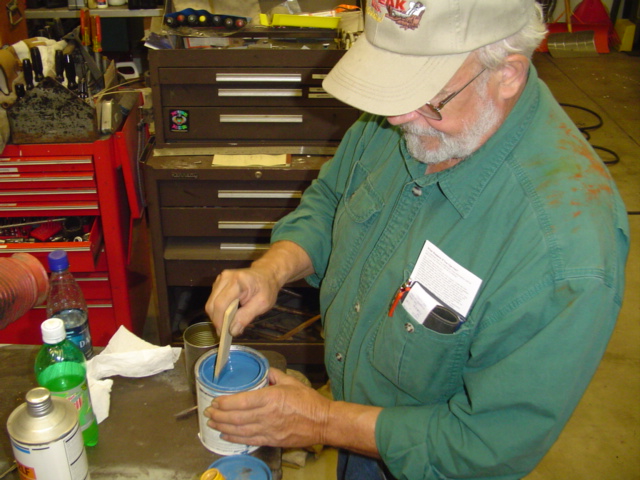
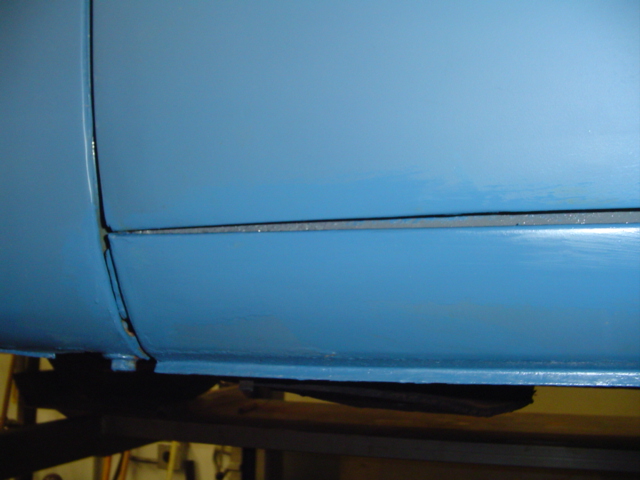
There was still a little touch-up to do on the rocker panels and under the bumpers so Ed mixed up a little paint. Now everything is nice and blue.
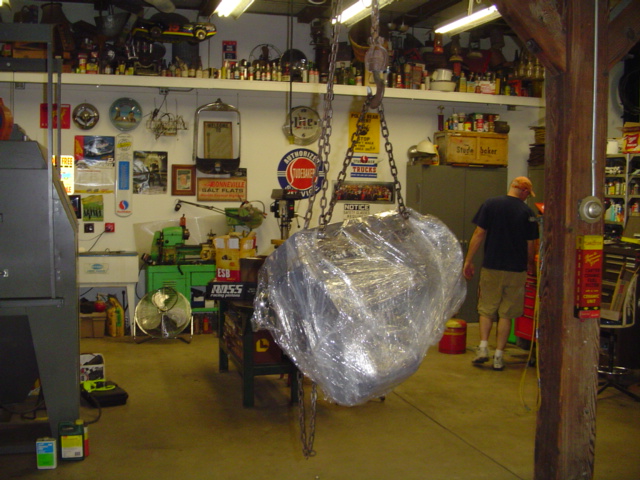
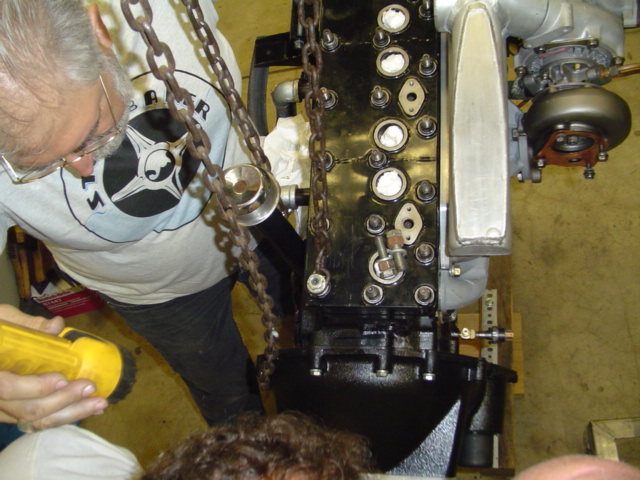
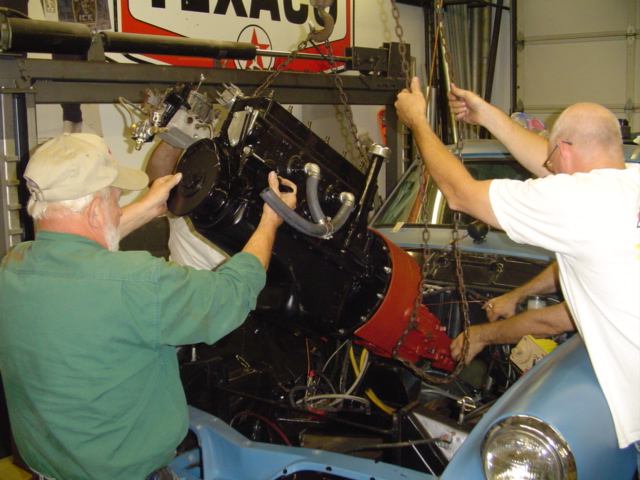
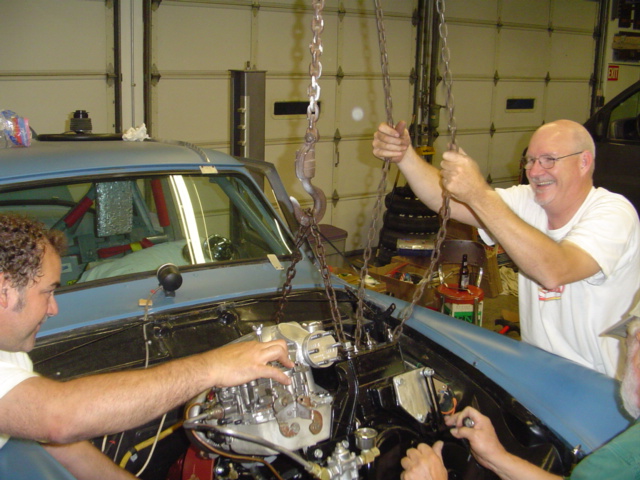
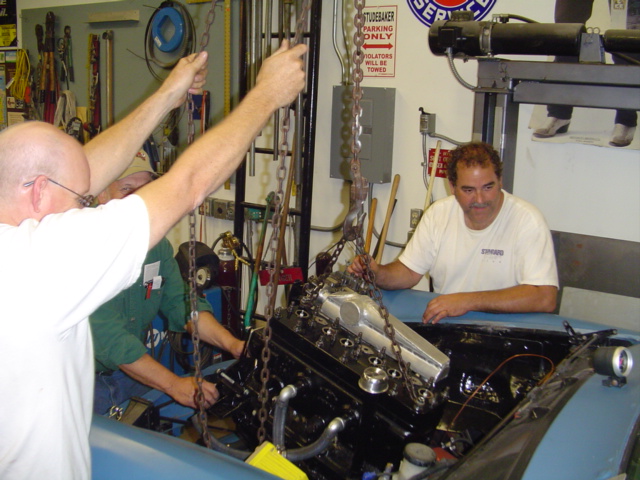
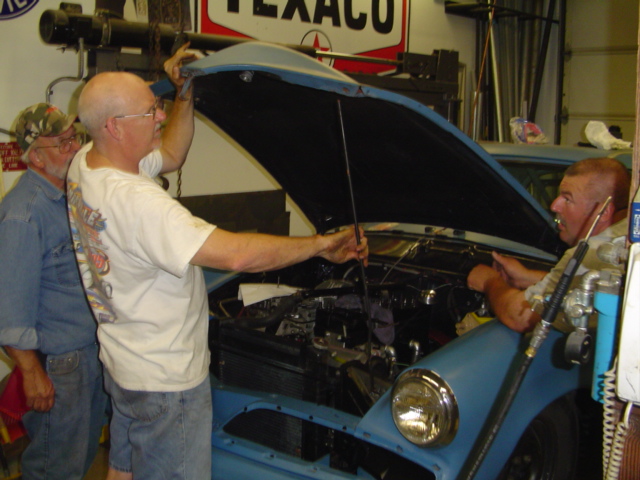
I'll tell you what, having a gantry in your shop is absolutely the way to go. Ed got his out of an old railroad depot or something. It really made putting the engine in a breeze. Here Ed and Joe start easing it in. Here are three shots of Joe and Mark getting everything lined up: 1, 2, 3. Finally, Greg gets the transmission lined up and..... almost there.... and We're In!!! Here's one more shot of the beautiful work Digger did on the intake. Joe wastes no time in getting the clutch pedal hooked up. And finally we take it up for a quick look underneath before calling it a night.
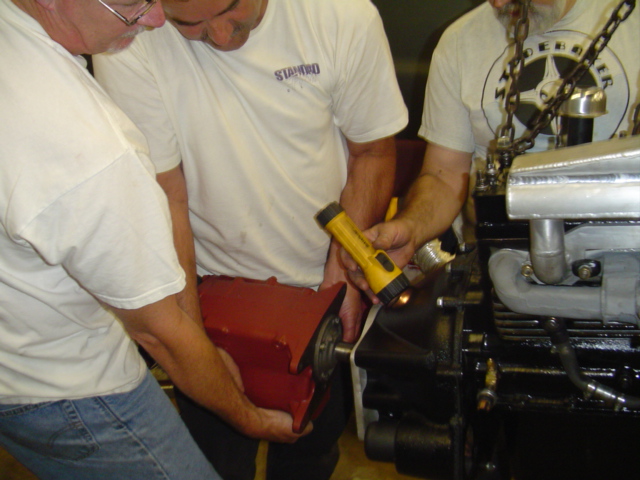
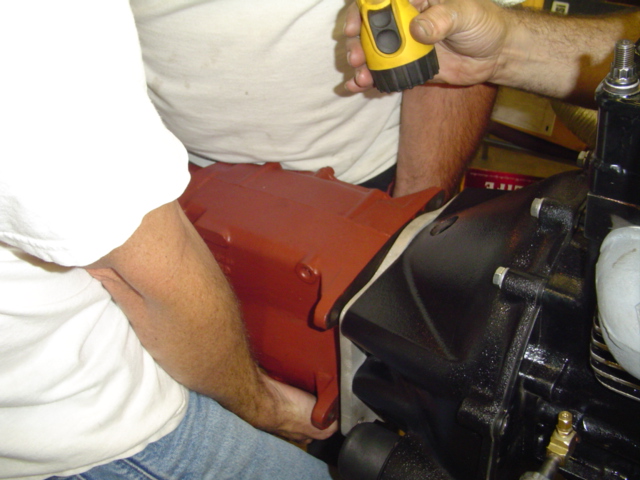
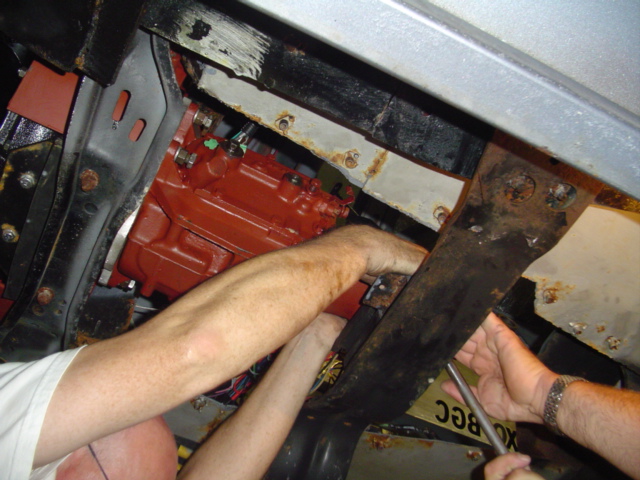
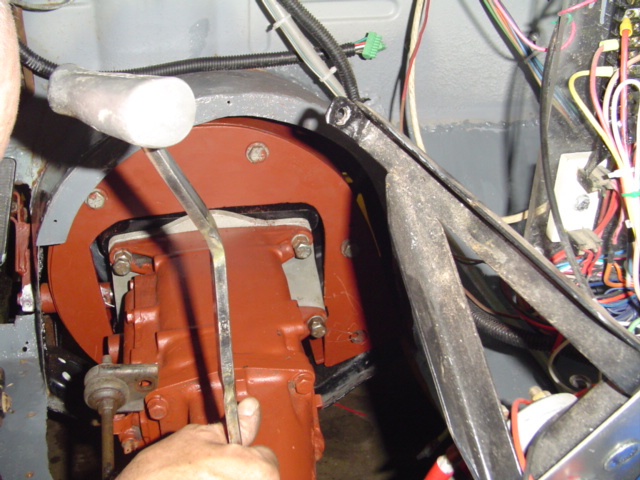
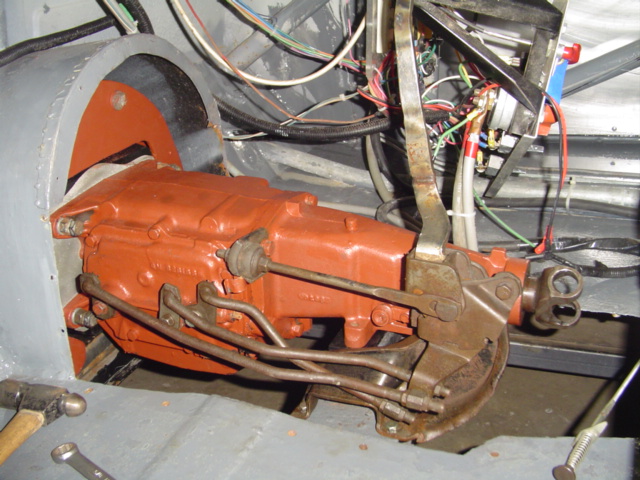
Now that everything is going back together we're noticing some problems with the fit. Maybe the clutch explosion last year had something to do with it. Maybe it's the new clutch and bellhousing. Whatever the reason, the scattershield doesn't end up in exactly the same place. This is a problem because the clutch controls pass through it. Joe and Steve spent some time jimmying things around to get everything lined up. Here Steve works the rattail, under the watchful eye of his supervisor, to make a hole a little bigger. Soon it all comes together and the clutch is functioning. Next, the shifter goes in. Here it is all installed and ready to go. Oh, and the hood went back on and the distributor went in.